VirtualDen - An alternative to a Windows computer
If you do not have a Windows computer for personal use, the Virtual Den is an excellent alternative to purchasing or running a VM on your own computer. The Virtual Den is provided and supported by ITS and is accessed via the Citrix Workspace App. Installation instructions for installing it on MacOS are here. You can also download a version for other platforms, such as Linux, Android, and iOS: https://www.citrix.com/downloads/workspace-app/.
Important
Be sure to install the app before trying to access the Virtual Den. Otherwise you might encounter problems when you follow the links provided on the login page and after you login to the site.
Note
Linux users should read this article for information on connecting to the VirtualDen
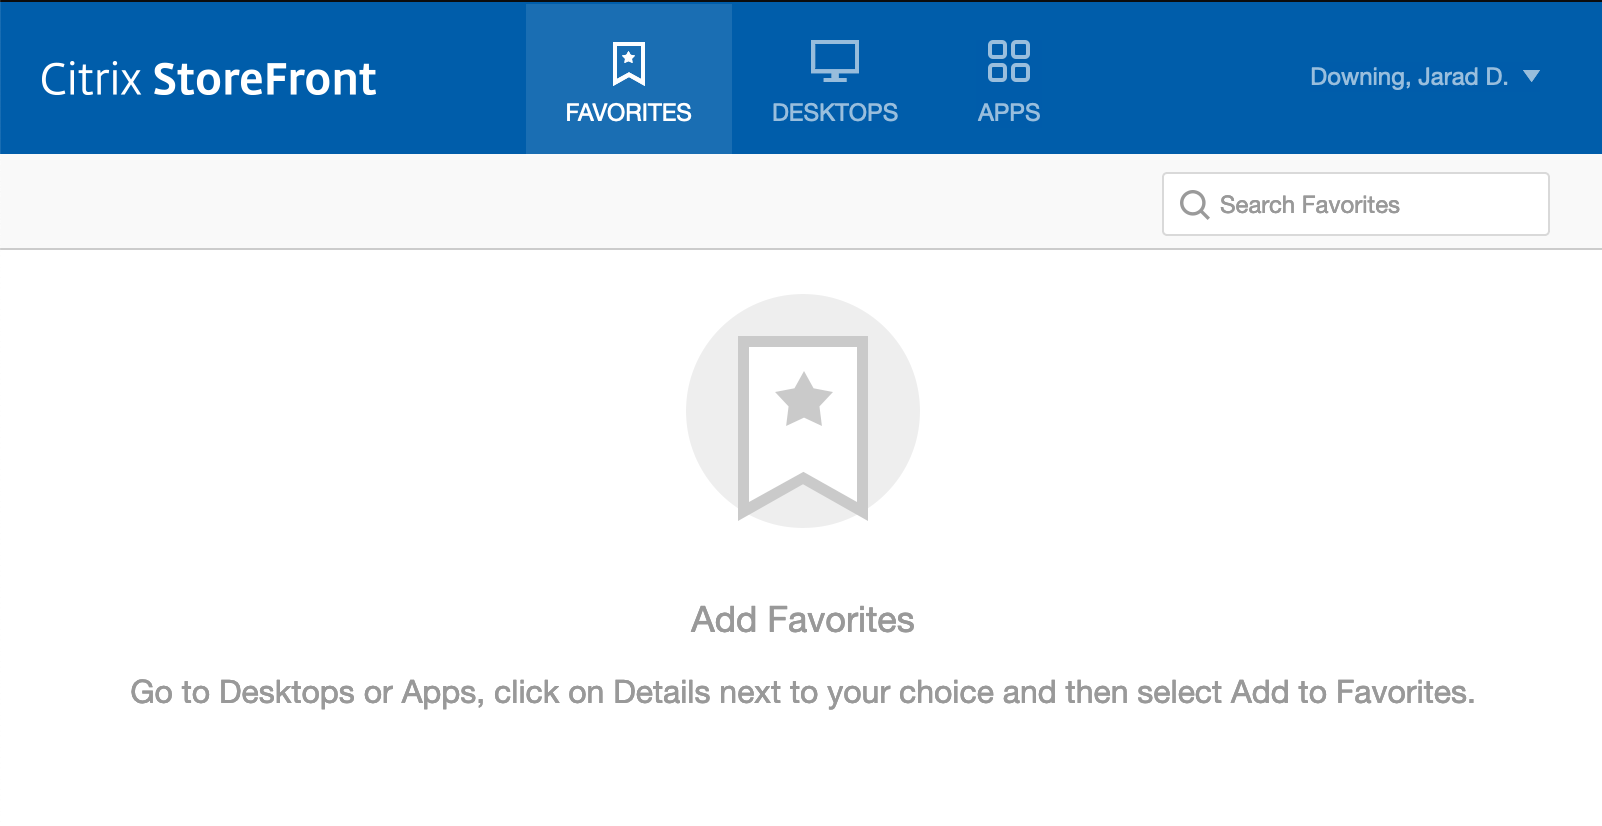
After you install the Virtual Den software, proceed to https://appstore.uky.edu and login using your LinkBlue ID (without @uky.edu) and its associated password. The web site then presents the Citrix StoreFront. You can choose to use either use a Desktop or Apps.
Desktops
Selecting Desktops results in a link to a single icon: VirtualDen Desktop. Clicking this link initiates a download. You should associate the download with the Citrix Workspace app that you installed, and make that association the default action. The Citrix Workspace app then starts up and presents what appears to be a Windows machine. It asks you “how do you want to access files from this application?”. It’s a good idea to select “Read & Write” in order to save and retrieve data locally to your computer.
Important
Data is not retained on the Virtual Den machine across sessions.
The Desktop is a fully functional Windows desktop with a lot of software pre-installed. Warning: any data left on the Virtual Den is erased when you close the connection, so be sure to save data to either your local system or to a cloud storage provider.
Saving Locally
The storage attached to your computer is mapped to a drive letter on the Virtual Den, where it is called a Network Drive. You can access this drive as “This PC” in the “Save as…” dialogue. For example, the home folder for the user in the picture below is mapped to drive “V”. You may need to explore these drives to determine which one is associated with your local disk. Always double check that you have chosen correctly.
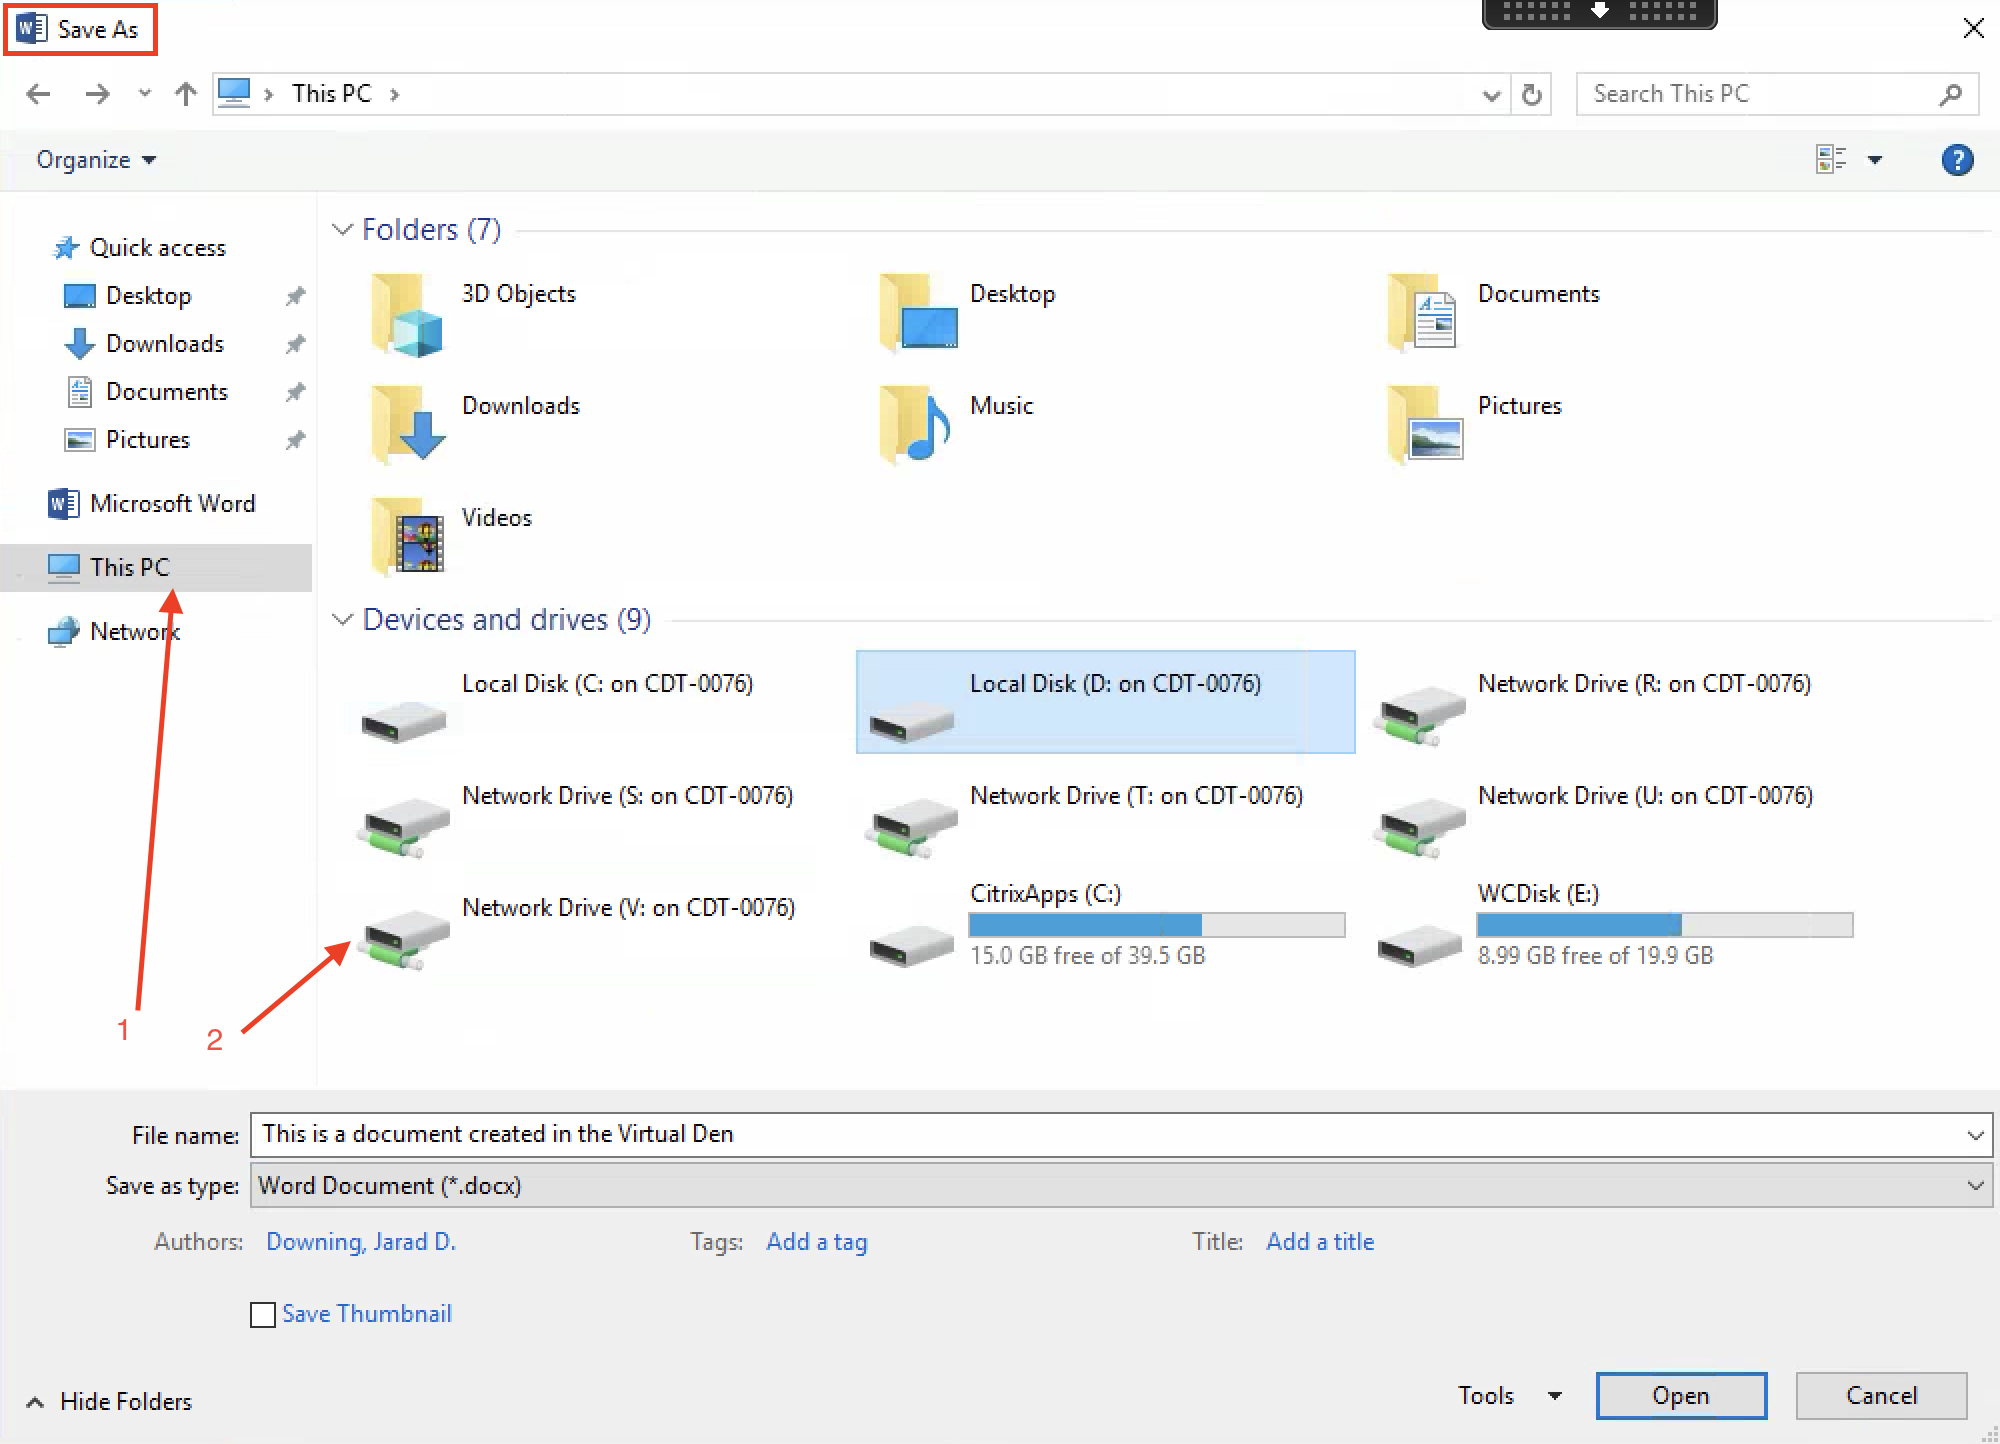
Once you have found the location where you would like to save a file, proceed as normal (click Open and Save).
Saving to the Cloud
Microsoft products integrate OneDrive natively. You have the option to save your work on OneDrive. However, to save documents reliably, it is likely better to save them somewhere memorable, then move them to cloud storage after you finish your session. For more information on saving data, look for a link on the desktop of your Virtual Den machine.
Apps
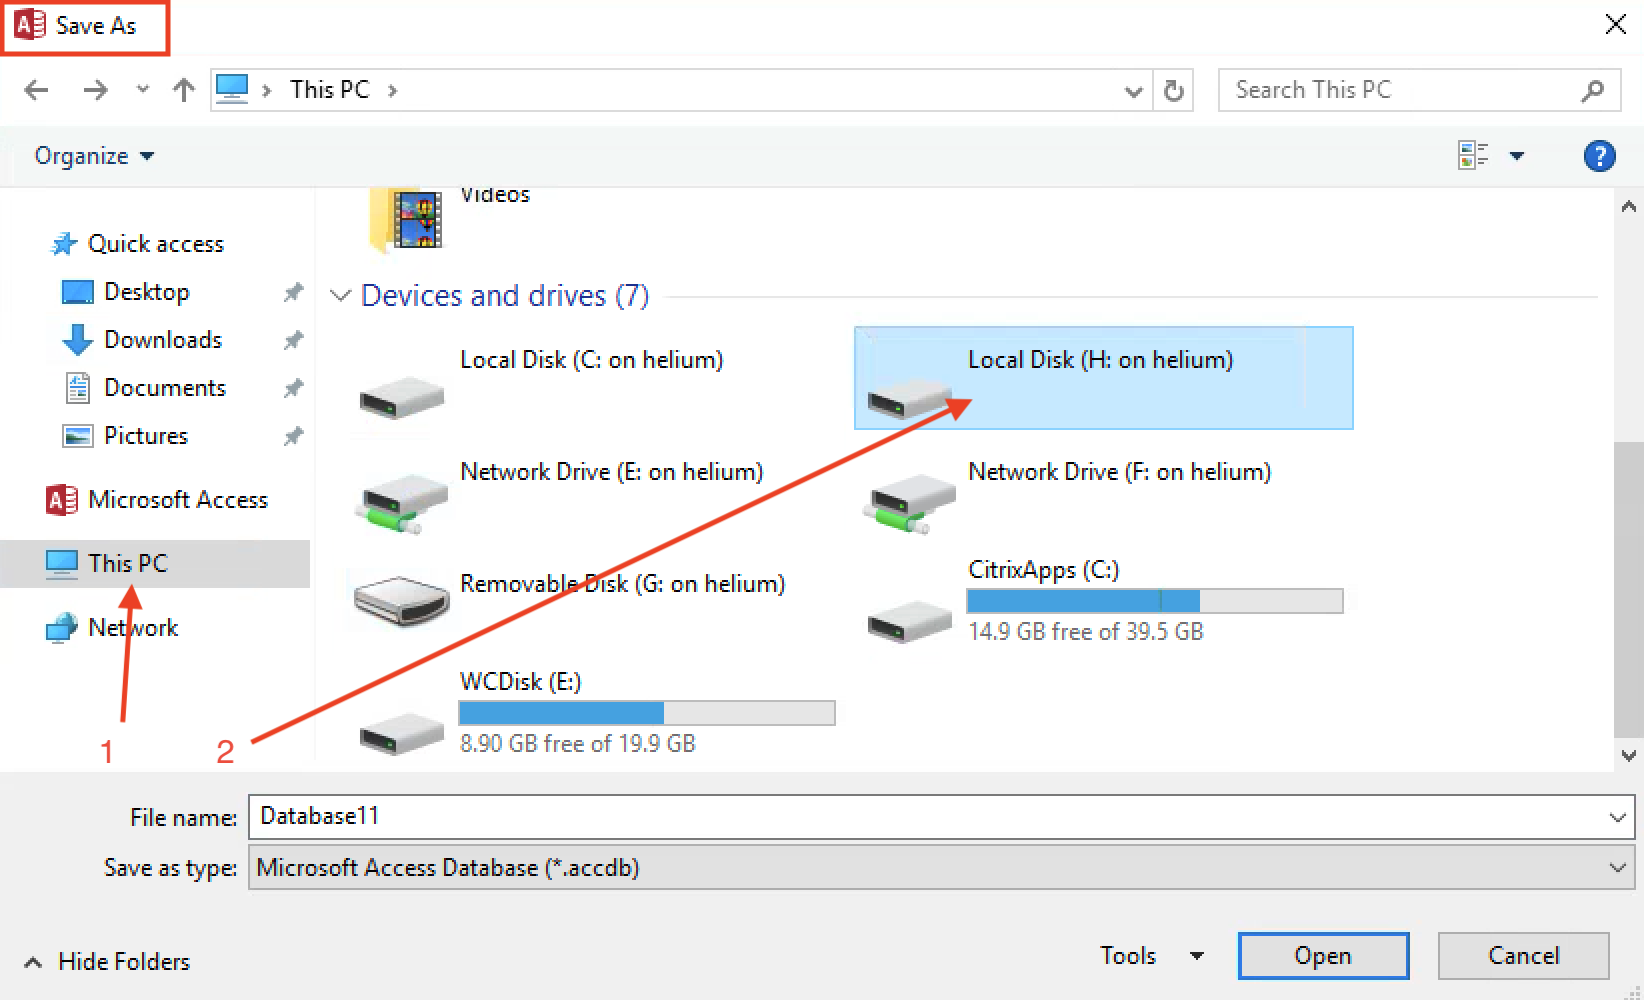
Selecting “Apps” presents a view of all 80 or so applications that Virtual Den makes available to you. For example, if you select MS Access, the Citrix Workspace App starts MS Access as if it were installed on your local computer. When you save a file, you see a prompt, “how do you want to access files from this application?”, just as when you use the “Desktop”. Selecting “Read & Write” lets the application access your local filesystem. The only difference in the Desktop and Apps save dialogue is that local files on your computer are labeled “Local Disk”, and any network drives you have mounted are labeled as such. One of the drives under “This PC” is your home directory on your local computer. You may need to explore all the drives to find it; that is the best location to save and store your data.
Linux Connections to the VirtualDen
Installation
Warning
There have been reports of problems after installing the ICAClient, particularly in Firefox. If you experience any problems loading websites, the only solution we know of is to remove the ICAClient from the system.
If you run Linux on your personal computer, you can also connect to the VirtualDen. Like the installation on MacOS, you must install the Citrix Workplace App (also known as the Receiver, icaclient, and the Citrix Workspace Engine) before you connect. The Citrix Workspace app for Linux release page has pre-compiled binary packages for Debian (and derivatives like Ubuntu) and RPM packages for distributions like Fedora and RHEL. The best option for working with VirtualDen is to download the “Full Packages” option. VirtualDen doesn’t currently support the web option, so the full package is needed to map local storage to the remote system.
On Ubuntu you should run the following from a command line:
sudo dpkg -i icaclient_21.1.0.14_amd64.deb
The file has a version number in its name, accurate as of February 2021. As Citrix updates the application it changes the version number.
Connecting
Once you have installed the Workspace App, you can use your browser to connect to the VirtualDen; connect to https://appstore.uky.edu .
Note
Use your LinkBlue credentials without @uky.edu to login.
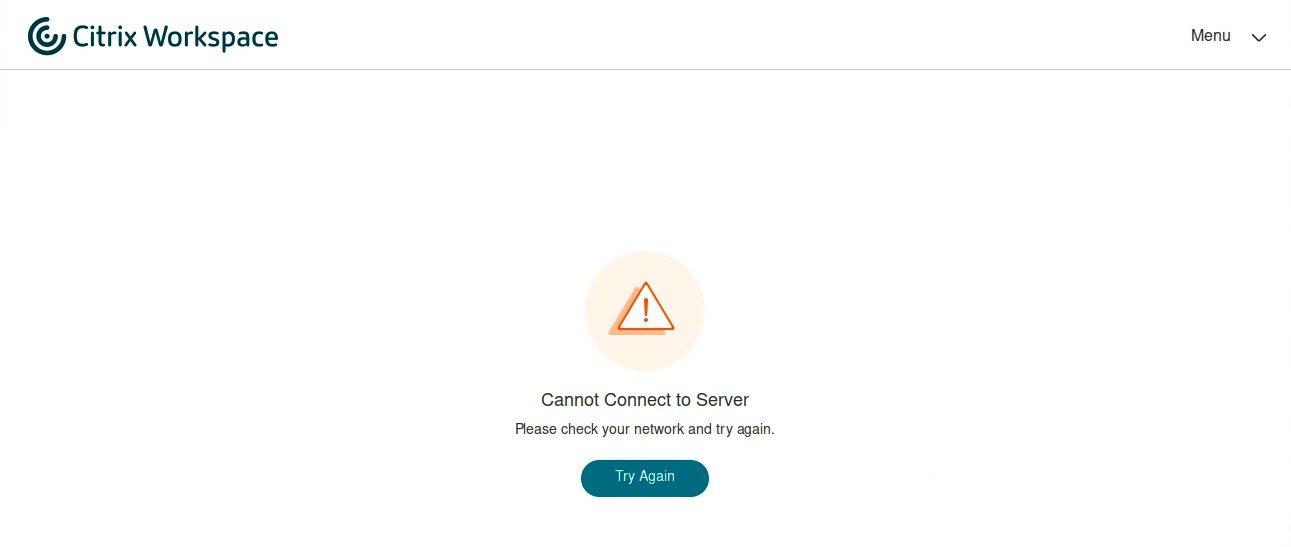
The software first checks that the connector has been installed. It fails this check. Click on “already installed” to bypass the check.

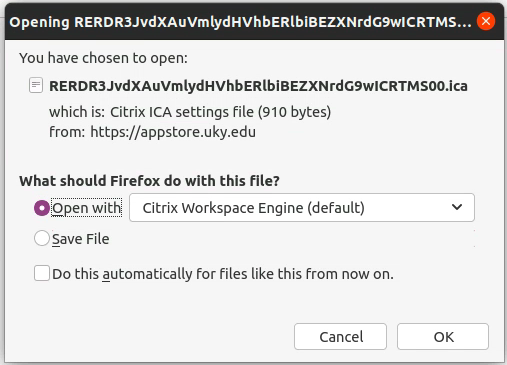
The browser may pop up a message asking you what to do with downloaded files. The default application, Citrix Workspace Engine, is the right choice.
Certificate Errrors
On your first connection attempt, you may see a window indicating a certificate problem. The error message looks like the image below.
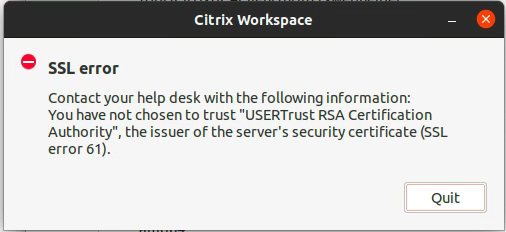
Error message when connecting to the VirtualDen
You can download the missing certificate here: userTrust.pem
Then move the certificate to the Citrix ICS keystore. If you download the certificate to your home directory, the command to move it is this:
sudo mv ~/userTrust.pem /opt/Citrix/ICAClient/keystore/cacerts/
Once the certificate is in place, the Workspace App needs to be configured to find it. Run the following, again from a command line:
sudo /opt/Citrix/ICAClient/util/ctx_rehash
Mapping Local Storage
Mapping local storage in Linux is different from other platforms. You need to accomplish several steps before you connect to make the storage available to the remote system.
Note
We recommend that you connect to the remote desktop or open remote applications a few times before you map local storage.
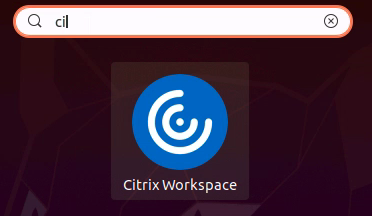
Open “Citrix Workspace” via the desktop environment, which in Gnome will look like this (all examples are in the Gnome DE running on Ubuntu 20.04).
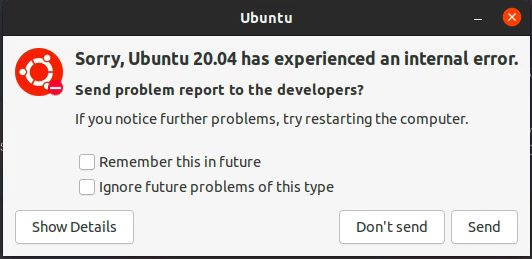
Citrix Workspace generates an error when you start it; you may ignore that error.
On the top right side of the Citrix Workspace window, select “Menu”, then “Preferences”.
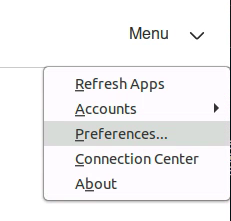
A new window opens in which you can set individual preferences.
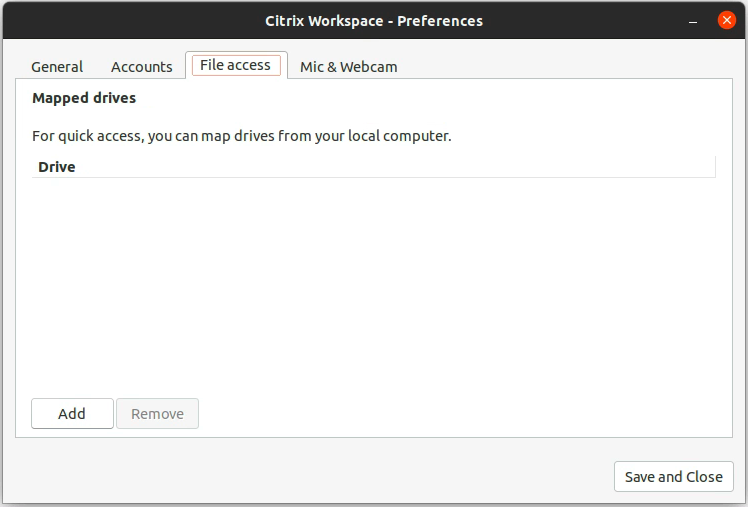
Under “File access”, select Add. A window like the one below opens.
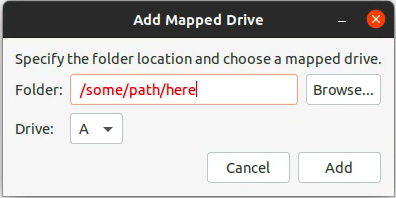
Enter the path to the directory you would like access. Something
like /home/user/ gives VirtualDen access to your entire home directory.
You may also select the Windows drive letter to refer to
the Linux storage. When you are finished, click Add
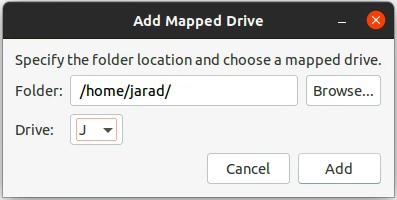
Now you have access to local storage in the Workplace. The storage map persists across sessions, so you only need to go through this process once.